Dark Lanes, Bright Lines: Night-Riding the Bike You Already Own
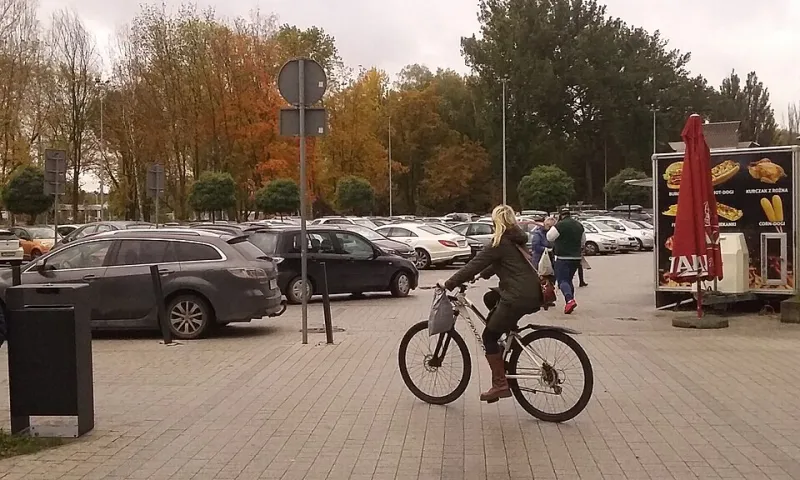
Photo: WrS.tm.pl, Public domain, via Wikimedia Commons
There is a particular moment on a winter club run when the last of the light goes and the lane ahead turns into a narrow black corridor. For some riders, that is the cue to retreat to the turbo. For others, it is the start of the best part of the ride: quiet tarmac, hedgerows lit up in the beam, and the odd rabbit making a late dash across the road. The good news is that you do not need a new bike to make it feel less like a leap of faith. You need a bit of workshop time, a sensible approach to lighting, and a test loop you trust.
Start with the law, then move on
In the UK, the legal minimum for riding on public roads between sunset and sunrise is a white front lamp, a red rear lamp, a red rear reflector, and amber pedal reflectors on bikes made after 1985. Flashing lights are permitted, and the lamps need to be marked appropriately. That is the floor, not the ceiling. A legal blinkie on your saddlebag may keep you on the right side of the regulations, but it will not show you a pothole at the bottom of a descent. Treat the law as the starting point and build a setup that lets you see as well as be seen.
Beam pattern beats raw numbers
Lumens sell lights, but beam shape is what keeps you out of the ditch. A bare torch with a round hotspot throws light everywhere, including into the eyes of oncoming riders and drivers. A shaped beam with a horizontal cut-off puts the useful light on the road and keeps the spill above the horizon to a minimum. You do not need to buy the most expensive German-standard lamp on the market to get this right, but you do need to check what the beam actually does before you trust it on a fast lane.
A practical setup for the bike you already own is often two lights: a wide, lower-powered beam close in for road surface and hedgerow edges, and a narrower, brighter beam further ahead for speed. Mount them so the cut-off sits just below the horizon when you are sitting on the bike, not when it is propped against the shed wall. A five-minute session in front of a blank wall at dusk will tell you more than any spec sheet.
Mounts, bolts and the rattle test
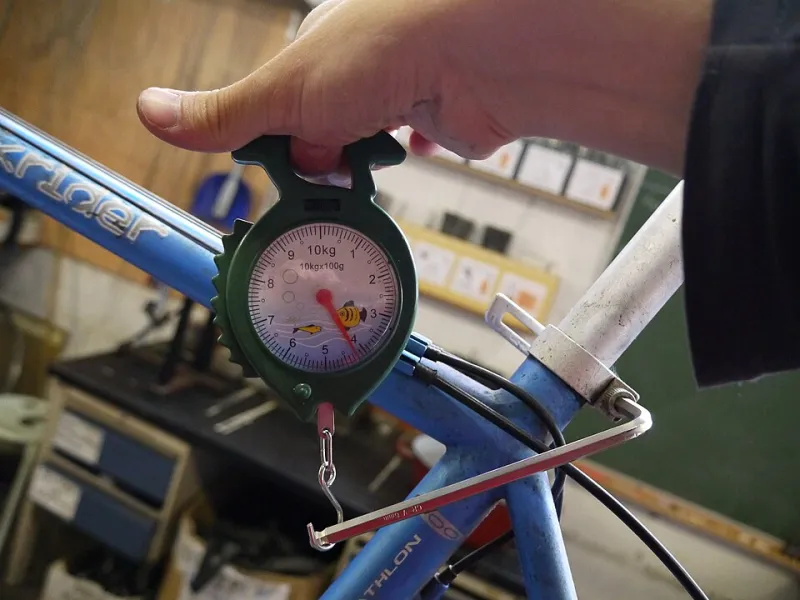
Night riding exposes every loose bracket on a bike. A light that chatters over cattle grids will either fail, rotate downwards, or blind you at the worst possible moment. Check the clamp bolts with a torque wrench, use rubber shims if the bar diameter is even slightly off, and add a secondary tether to the frame or bars. A small zip tie or a loop of cord costs nothing and stops a detached lamp from bouncing down the lane.
While you are there, tidy the cables. A front light cable that loops into the brake hose or catches on a bar bag is an irritation in daylight and a genuine distraction after dark. If you are running a dynamo hub, check the connectors and route the cable so it cannot rub the fork leg. If you are on battery lights, charge them fully, carry a spare, and know how long each mode actually lasts. The quoted run time is usually measured on the lowest setting, not the one you will use on an unlit descent.
Reflective details that earn their place
High-visibility clothing is not a magic cloak. What catches a driver's eye after dark is contrast and movement. Reflective ankle bands are one of the best cheap upgrades going: they move in a way that static panels do not, and they survive British weather better than a flapping gilet. Pedal reflectors, reflective sidewall tyres, and a strip of retroreflective tape on the fork lowers or seatstays all add useful side-on visibility at junctions.
Do not ignore the obvious. A red rear reflector is a legal requirement, but a second reflector mounted low on the frame or mudguard gives drivers something to judge distance by. Keep reflective surfaces clean. A mud-caked ankle band is just a wet strap.
Build a real test loop
Before you commit to a dark-morning commute or a midweek chaingang, find a short unlit loop near home and ride it at dusk. Two or three miles is enough. Include a rough surface, a bend, a junction, and a place where you can safely stop. Take a multitool and a spare light. Ride the loop with your normal winter clothing and your normal glasses or visor. You are checking three things: can you see the road surface, can you see the edge, and can someone coming the other way see you without being dazzled?
If a passing rider flashes you down, take the hint. If a driver leaves their main beam on because your light is blinding them, your setup is wrong, however bright it looks from the saddle. Aim slightly lower than feels natural. The road directly in front of your wheel matters more than the treetops.
The dip switch is a courtesy, not a weakness
On shared lanes and cycle paths, dip your beam when someone approaches. If your light has no dip function, angle it down or cover the top of the lens with your hand as you pass. Do not run a high-powered strobe after dark. Flashing modes are useful in daylight, but at night a steady beam is easier for others to judge and less likely to cause glare. In a group, point your light down and slightly to the left so you are not lighting up the rider in front. Call out "lights" when you are about to pass, and give a shout if you are switching modes.
A small winter kit that stays on the bike
Keep a zip-lock bag in your saddlebag with a spare rear light, a couple of zip ties, a length of reflective tape, and a microfibre cloth. It weighs almost nothing and solves the majority of night-ride annoyances. Check your lights before every ride, not just when the battery indicator starts blinking. A five-second glance at the mounts and lenses is cheaper than a taxi home.
The bike you already own is almost certainly capable of dark lanes. It just needs a beam that behaves, mounts that stay put, a few reflective details in the right places, and a rider who knows when to dip. That is not a leap of faith. That is workshop wisdom, applied after sunset.